Maybe I shouldn’t have bothered numbering my “lessons”. It smacks too much of the 2010-era listicles.
Regardless, this is the article I wish I’d found, before I’d begun. It sure would have saved me a lot of trial and error. Perhaps this is just my public post-mortem. I hope this proves to be a frank, thorough record of my Amazon publishing experience that may prove helpful to you; either by emboldening your resolve to try the same, or at least inspiring you to “experience share” more.
1. REad the fine print before you begin.
I thought I had. After using KDP’s print calculator, reading many articles on other authors’ experiences, and poking around as much as I could, I landed on a 8.25” square format, and built my InDesign templates.
Then just as I was finalizing my pages, I read that if I wanted to make use of “Expanded Distribution”, the 8.25” square format was not accepted…but 8.5” was. Cue hair-pulling and the adjustment of every single one of my spreads. Auto-scaling features in InDesign did NOT do me any favours, and all my carefully drawn guides and “thirds” were now askew. Thank goodness I was mostly done designing anyway, and had learned enough about embedded images, to rectify any damaged graphics (eps. vs .png limitations).
You’ll laugh that I later decided to opt out of Expanded Distribution, since Amazon takes another fee gouge and was only going to leave me with less than $0.50 per book. Even though Expanded Distribution might have offered me the opportunity for American and UK bookstores, libraries, and distributors to pick up my book… I felt that mere pittance was not enough reason to feed the big corporate machines.
Another writer friend advised if I wanted Expanded Distribution to do so through IngramSpark, which offers better margins for authors. So I could have just been happy with my 8.25” format after all, and saved myself some headache… Some lessons can only be learned through the misstep. Learn from mine.
An example of layers in InDesign; how to group your graphics into sections for better organization and control.
2. adobe illustrator vs. indesign
I highly recommend both of these products. Illustrator is a mighty program, of which I am only mildly competent, but it was very easy to change swatches, colours, and manipulate the graphics so that I could turn a standing bear into a sitting one, or add a swing/balloon/basket. Illustrator also seemed much more capable of handling complex files.
InDesign is the program for compiling separate documents into one Book file. You can design each spread as a separate file, link them all up as a .book file, and then simply export the whole lot as a print PDF in pages, but make sure to turn off any inside margins for uploading to KDP. (oops)
I found it best to design the backgrounds separately, saving them as .eps and then imbedding them into each separate InDesign spread. Then, if my design was not too complex, or I wanted to be able to move the bits around at will, I would embed .eps files into the InDesign spread, or simply copy/paste a .png directly from Illustrator. If the file is too big, it will automatically convert to an .eps when you paste it in InDesign. If you have too many items, or too big an .eps file in InDesign, you risk crashing the program. I only crashed it a few dozen times before learning my lesson and building the majority of the work in Illustrator and imbedding it later.
The nice thing about embedding .eps files designed in Illustrator, is that you can go back and edit them, and simply “update link” or “re-link” in InDesign, without having to place and size it all again. Knowing this now, my next book building process will be much more efficient.
Had I not had such complex files, the .book export feature probably would have worked as it should. Or maybe not; the final file size was between 300-500 MB.
Layers and templates are incredibly helpful features, too. Fiddle around with your first spread, and get your guides and placements exactly the way you like them. Separate layers for background, characters, text, sky, foreground, landscape etc. are all very helpful in divvying up what ends up becoming a list of dozens of files within a spread.


3. Proof once, but probably not twice.
I was very disheartened by the print quality of my proof. There were vertical yellow streaks on every page, faint enough that my husband insisted they were negligible, but obvious enough to my eye with a background in print design. The first proof took 2 days to arrive, and cost $11 (no Prime shipping for these puppies). It was worthwhile, and I caught some small layering issues that I hadn’t noticed on the screen, along with two typos (can you believe this Eng Lit grad??). You’ll always catch more in the physical proof than you will in a PDF, that’s my opinion.
But looking back, I wouldn’t have ordered a second proof. For one, I’d discovered by then other Reddit threads advising that the proof quality wasn’t indicative of the final product. Plus, I’d caught all those mistakes and fixed them; did I really think I was going to find something new? As long as I was careful in editing the files, there weren’t suddenly going to be new errors just popping up out of nowhere.
Ordering a second proof meant that I waited another three days for it to arrive— only to get screwed with the internally flawed publishing timeline (see #5 below). Long story short; find your flaws, fix ‘em, and then trust your product to kick it forward.


4. the InDesign pdf export hack that will hopefully save you the hours i spent figuring it out
Trust me, I spent two full evenings toggling these various settings on and off to try finding the perfect combination that would actually export all my 11 spreads, individually. No, exporting the single Book file did not work, in my case.
In case it helps some other poor soul who’s just finished proofing their book in InDesign, only to discover with horror that the damn thing won’t export into PDF…save yourself some Google rabbit holes and try this:
You need to export as file type “PDF Print”, not “PDF Interactive”, which I’m sure you already know. The export window will then set the preset as [High Quality Print]. This is normal.
Change the standard to “PDF/X-1a:2001”, Compatibility Acrobat 4. This keeps the file size somewhat manageable.
If you’re exporting for KDP, you’ll need to Export as Pages, not Spreads. Do not Embed Page Thumbnails.
Compression tab: Do. Not. Compress. It took me much trial and error to figure this out. It seems counter-intuitive, when you’re trying to avoid crashing InDesign with too large an export file, but trust me. I also de-selected “Compress Text and Line Art” as well as “Crop Image Data to Frames”. However, if you have a particularly large image that you cropped to fit the bleed of a spread, but it still exists invisibly beyond the page, I recommend you try selecting “Crop Image Data to Frames”, especially if you’re getting an export error.
NO printer’s marks for KDP files. I did select “Use Document Bleed Settings”, but remember, if you designed in spreads, with left and right pages together so you can see the full layout of an open book, then you need to make sure there are no inside margins. I’m not specifying bleed margin amounts here, as you should do your own research into KDP’s requirements for your project size.
Output: I’ve always selected “Convert to Destination”; Destination: US Web Coated (SWOP) v2), because a senior designer once told me to.
Advanced tab: Transparency Flattener > Preset: change to [High Resolution].
Review, jot a couple notes as to what you turned on/off, then click “Export”. And pray.


5. Scheduled vs manual publishing
I’m no stranger to design projects. I knew everything was going to take longer than expected. But I also knew that having a defined launch date is highly preferable for marketing, personal planning, and general functioning. Right? I wouldn’t want to rely on manual publishing; just willy-nilly deciding when to push the “Publish Now” button and waiting 24-72 hours on the mercy of the KDP overlords to launch my book online…right?
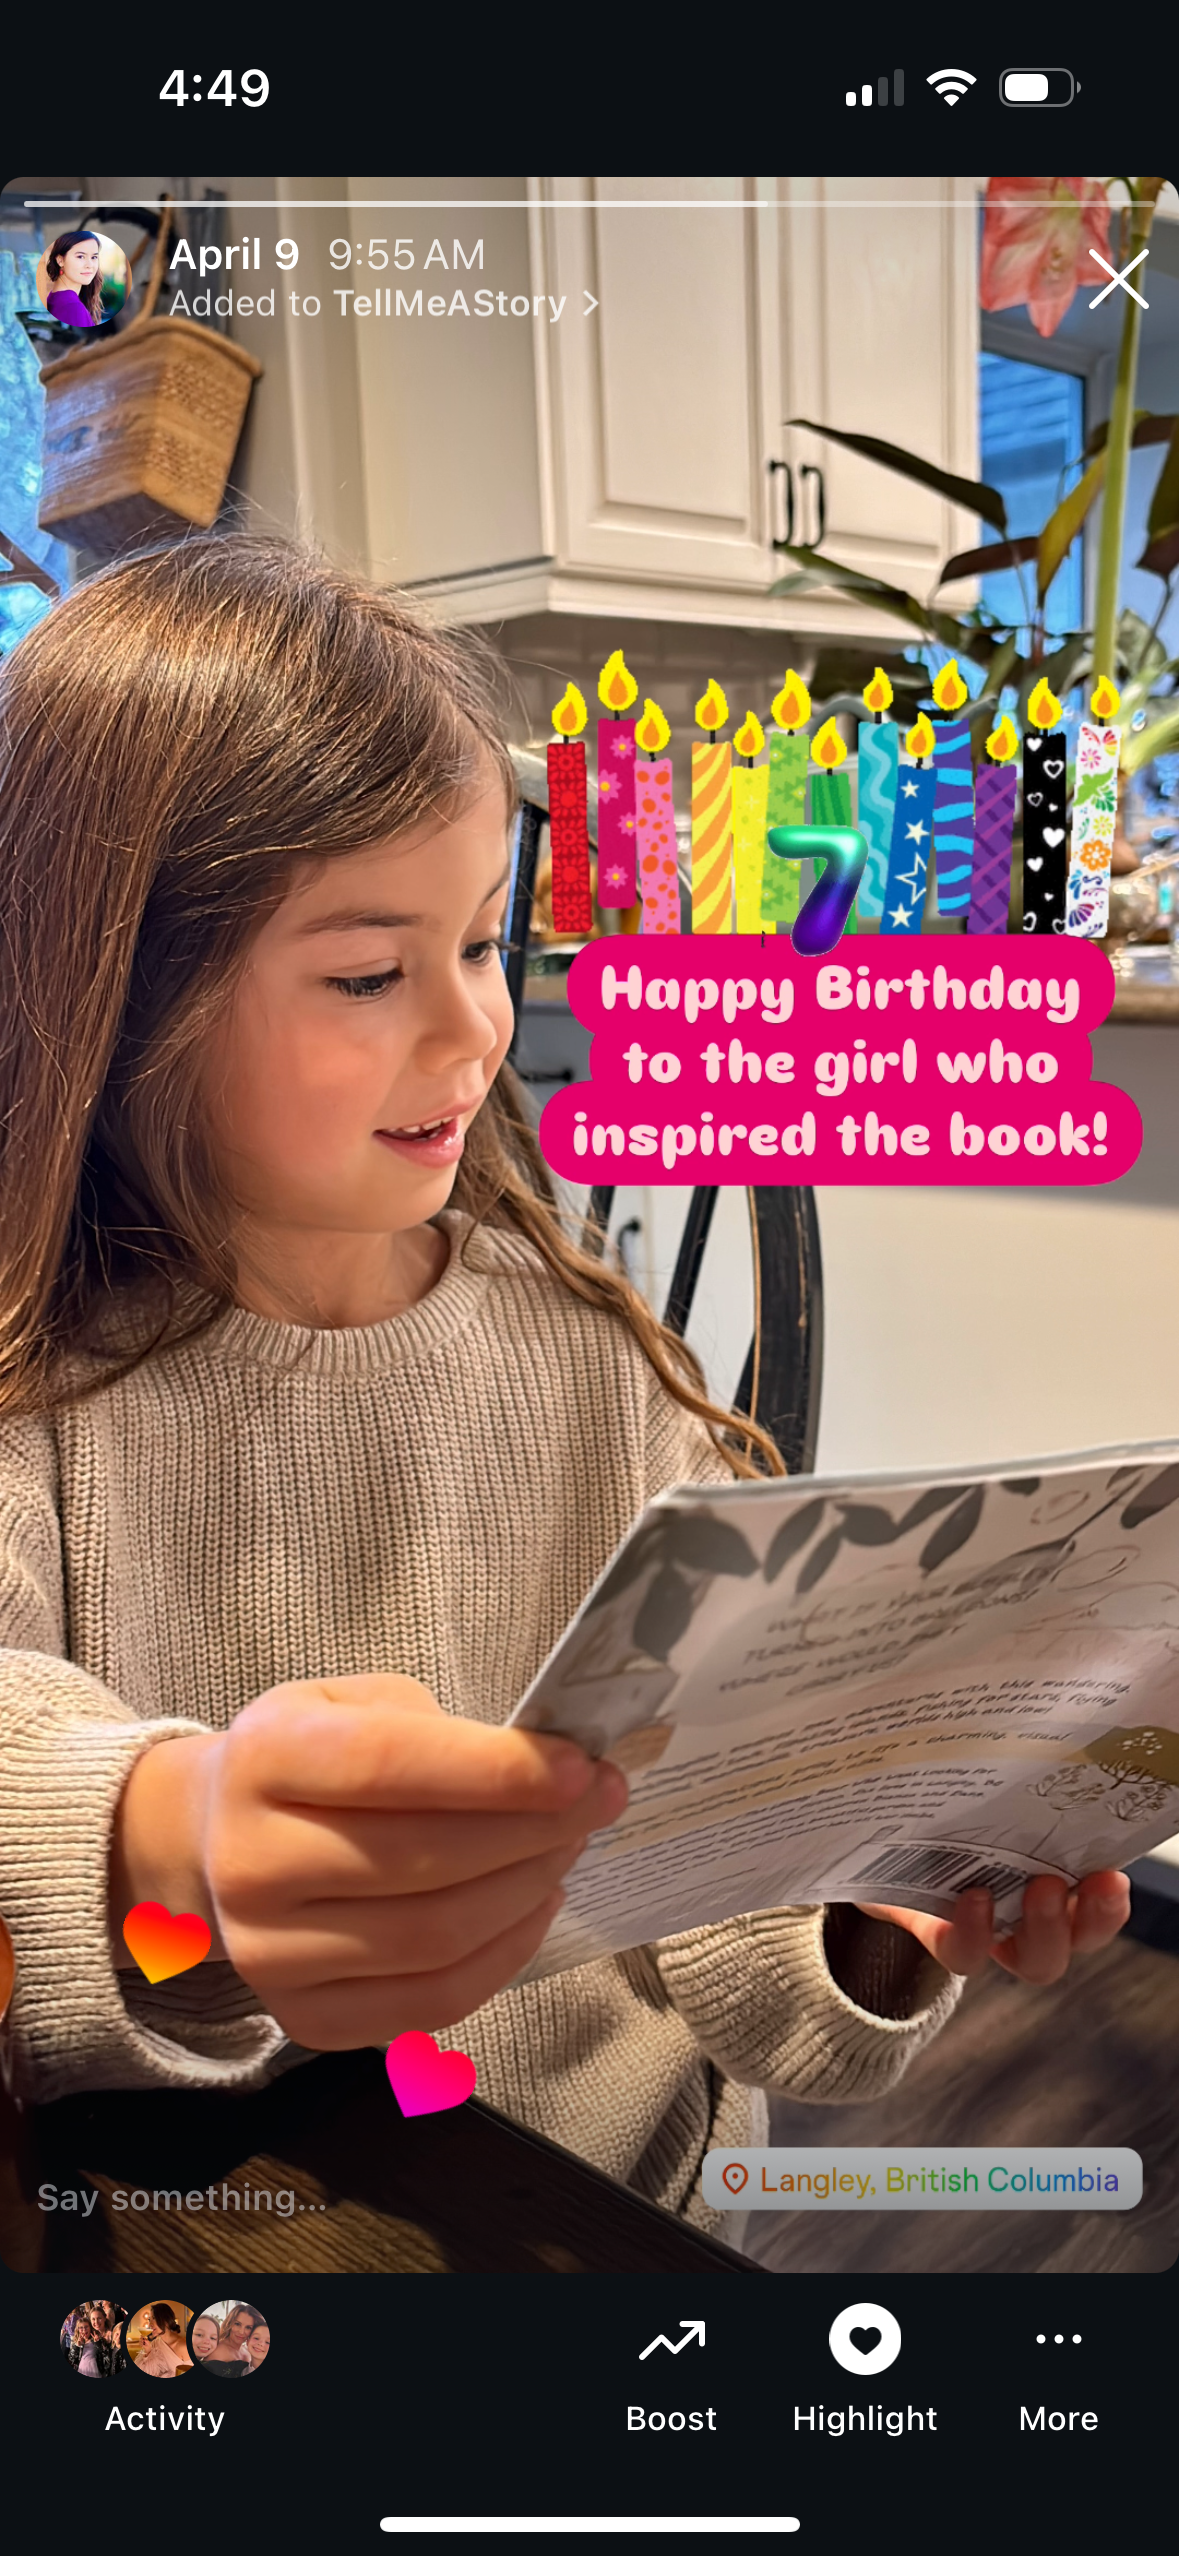
This 26-page book was a labour of love over the better part of two months; nearly every evening and spare moment I could give. Even still, after computer glitches and 2-3 day proof delivery and unforeseen backend hiccups, I ended up with less than 24 hours before the “scheduled 5-day launch window starting March 27” I had set up for my KDP project. I had chosen April 1, 2025, because April 9 was my daughter’s birthday, and I wanted to make sure there was enough time for me to purchase a copy to gift her.
It wasn’t enough time, because…
* N E W S F L A S H *
Amazon operates on UTC time.
NOT PDT (Pacific), where I am. You’d think there would be a notice, a warning. There wasn’t. While I thought I had time on March 27 to receive the last proof and make final edits, the clock struck midnight somewhere to the east and Amazon migrated into the universe of March 28 time and I was locked out of any editing capabilities for the next 5 days while Amazon’s clunky “scheduled for publishing” process clanked out of the station, even though I tried to reverse, halt, stall the process so that I could publish it manually.
Ugh.
This felt like a pretty big blow, in the moment. All my carefully laid plans locked in the giant corporate gears.
Note: don’t schedule your release when your editing window is so close. Don’t schedule it unless you are weeks out and you are confident that no changes will be necessary.
Follow up note: The “Unpublish” button will not haul you out of that inexorable 5-day publishing review window. If that train has left the station, your book project will be uneditable until the five days are over, even if you “unpublish” in haste and desperation.
Last note: If you “Unpublish”, all you’ll accomplish is preventing the book from being sold. It will still launch at the end of those five days: there will be a public listing on Amazon, and the page will infuriatingly say “Product unavailable. We don’t know when it will be back in stock.” Once this happens, though, you can manually click “Publish Now” in KDP… and wait another 24-72 hours for the overlords to approve your book for sale.
Learn from this.
All things pass. By 8:30pm on April 2, it was live. Anticipation makes the heart grow fonder.

6. PRICING CONSIDERATIONS
I didn’t begin this project with the goal of making money. In fact, it was a self-deprecating secret goal that I hoped to break even on the $39 USD graphics pack I’d purchased in 2018— beyond that, I’d consider any surplus a bonus! (Hint: goal unlocked)
Still, pricing your book is one of the essential points. KDP will tell you how much your print costs will be, based on the size, print quality, paper stock, and page number of your project. They’ll also show you the minimum price you will need to list your book for (in my case, $8.77) , so that my royalty cut of 60% will cover the print fees.
When you consider how much a print run costs traditionally, with having to fork up a couple thousand dollars for an initial run and then hold inventory, direct-to-print is pretty miraculous. Unfortunately, even at the volume rates Amazon can command, we’re not talking pennies, here. My 26-page book printed on 60-71 pound (88-105 GSM) white paper with premium color ink costs $5.26 CAD per unit to print.
List price is $11.99; KDP royalties on paperback is 60% times list price minus print cost, so that comes to just $1.93 royalty per book. Ironically, that $1.93 of the list price is 16%; just 1% higher than the 15% industry standard that an author would receive from a traditional publishing house like Penguin.
I could have priced my book higher. Every $1 more would have been another $0.60 for me, $0.40 for Amazon. I’d considered $12.99, or even $14.99. In the end, I decided that potential extra $0.60 - $1.80 wasn’t enough to risk losing a sale for being priced too high. A local bookstore advised me that paperback illustrated children’s books were generally in the range of $8 - $13, with self-published titles being maybe $1-$2 more, if the quality could justify it.
My goal with this book was to share it; to make it accessible. I didn’t want price to get in the way of that, and felt that I would certainly provide great tactile, narrative, and design quality value at $11.99. A bonus consequence, one I didn’t expect, was that the lower price made it more attractive for friends and family to purchase multiple copies to gift and share. Win-win!
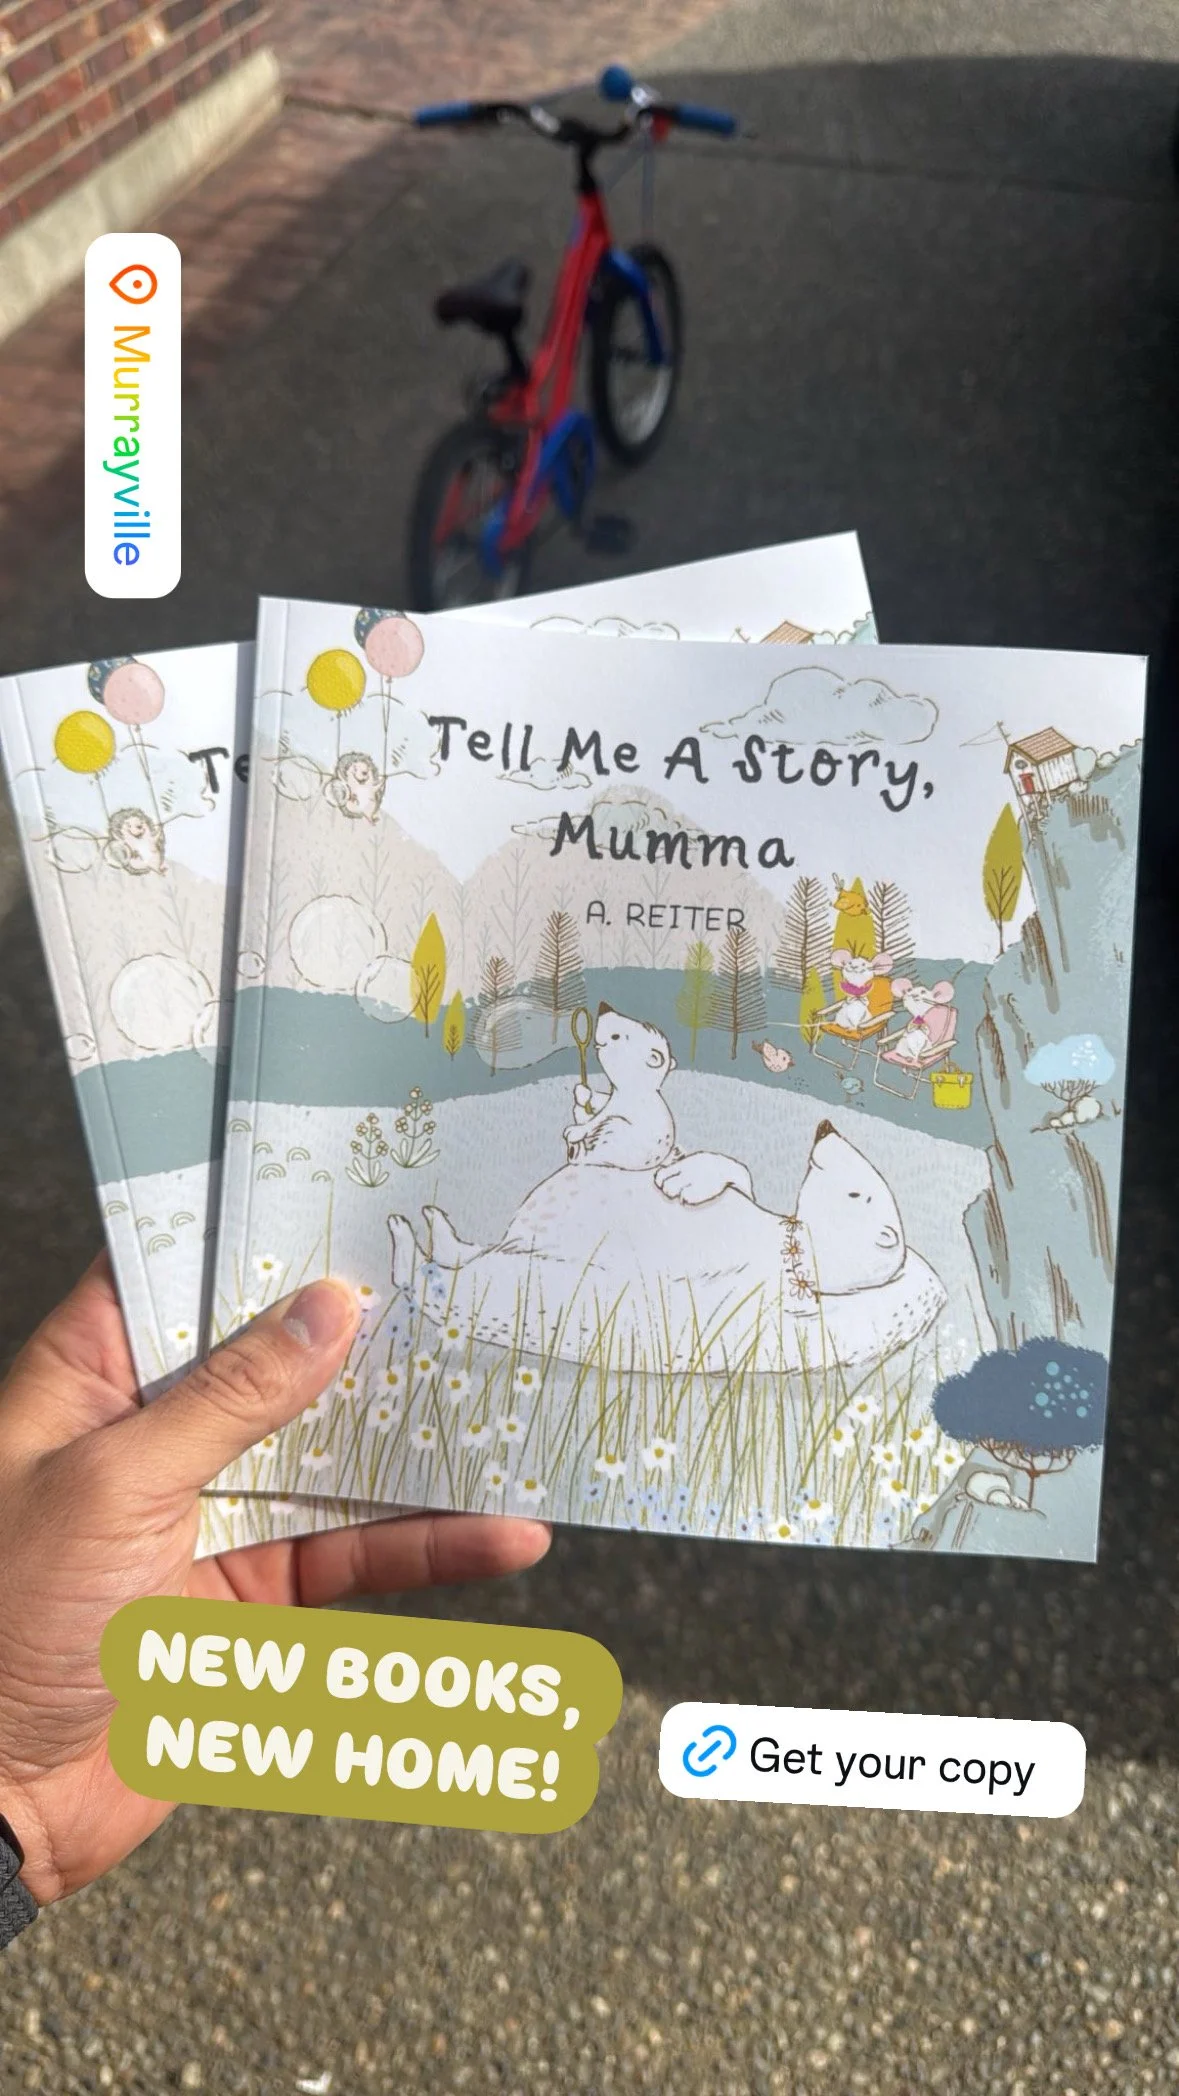
7. Marketing is something. community is everything.
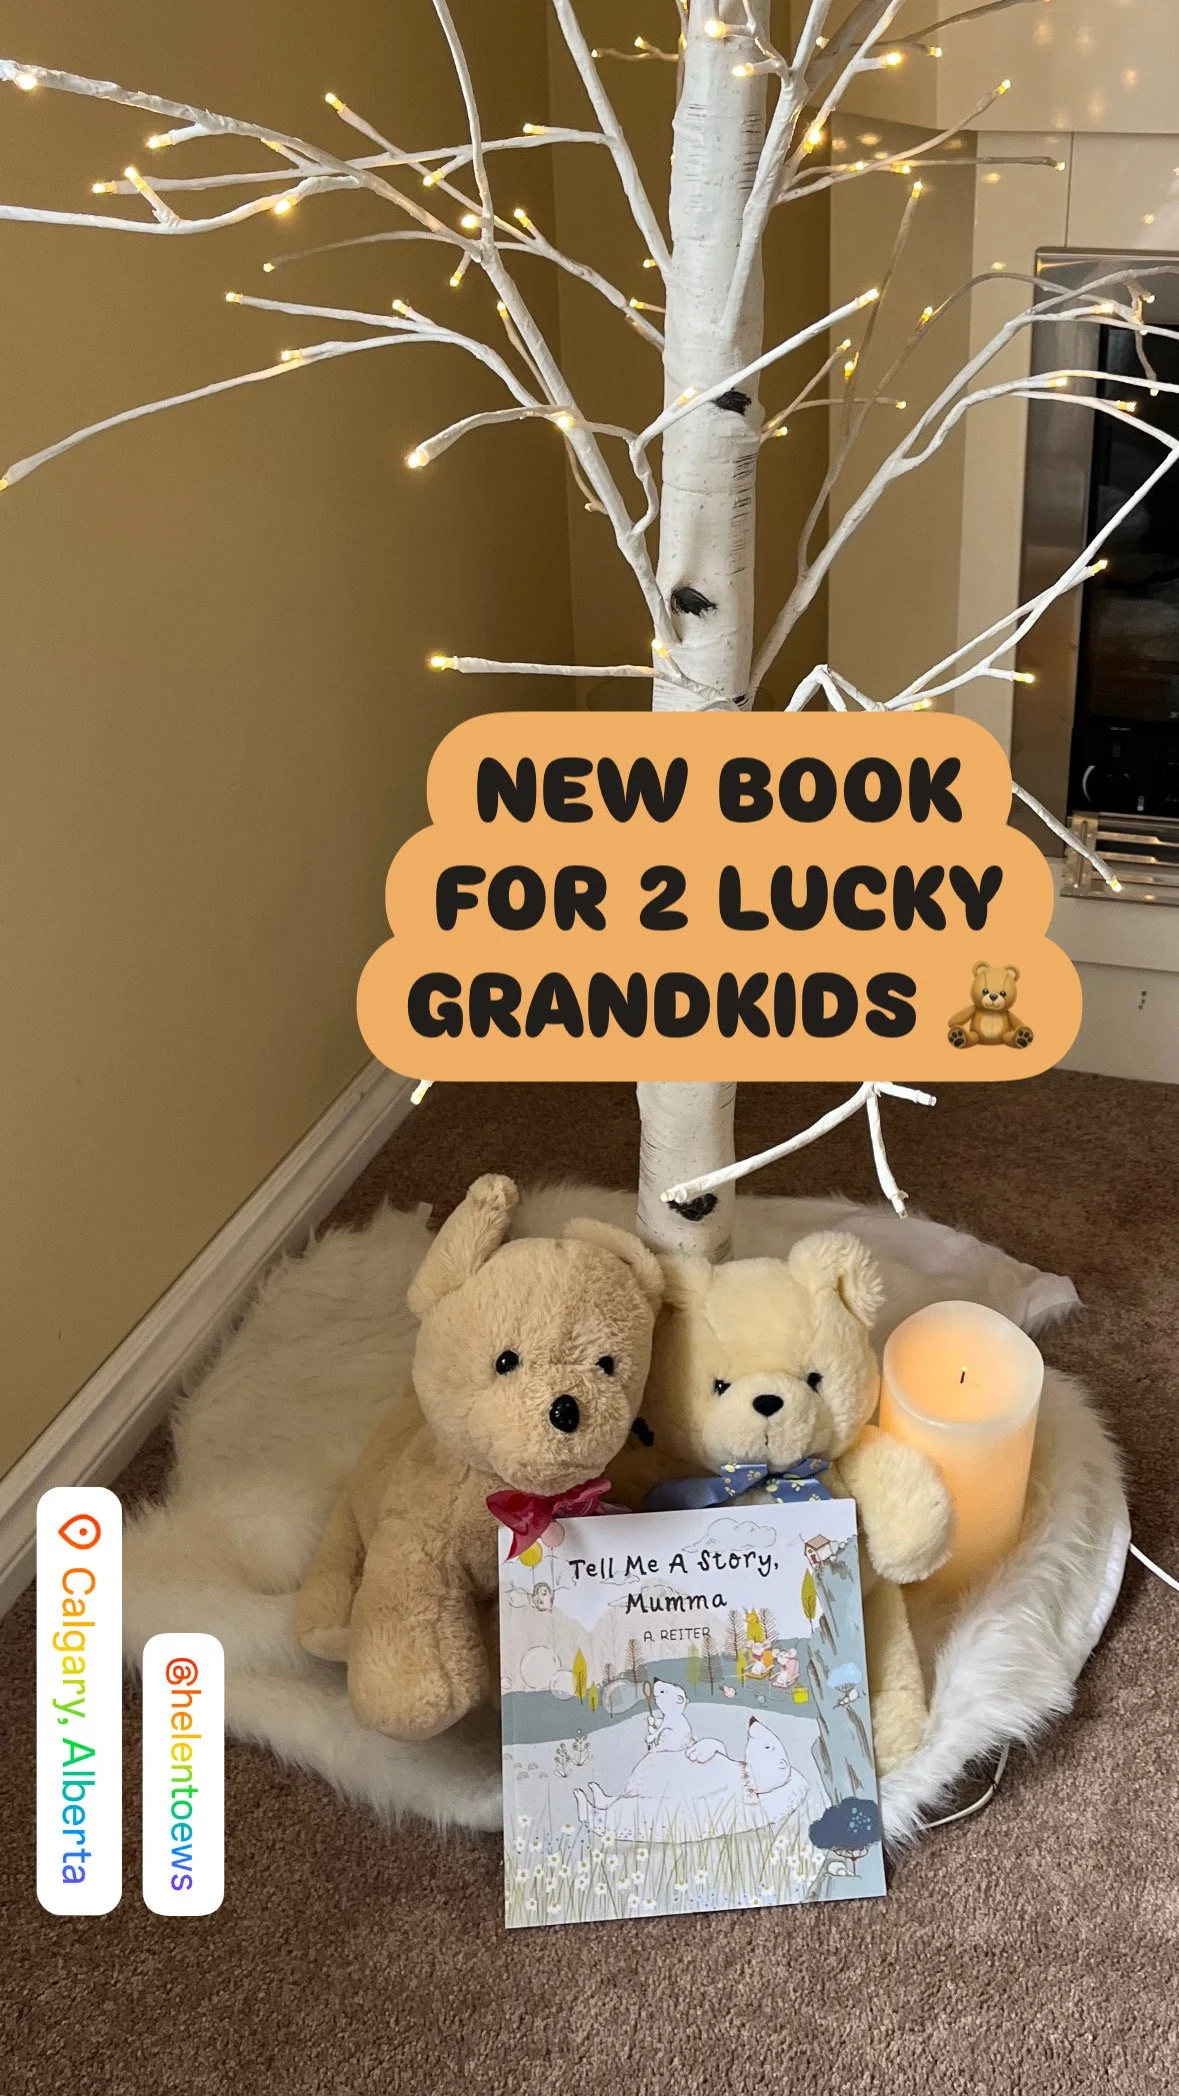
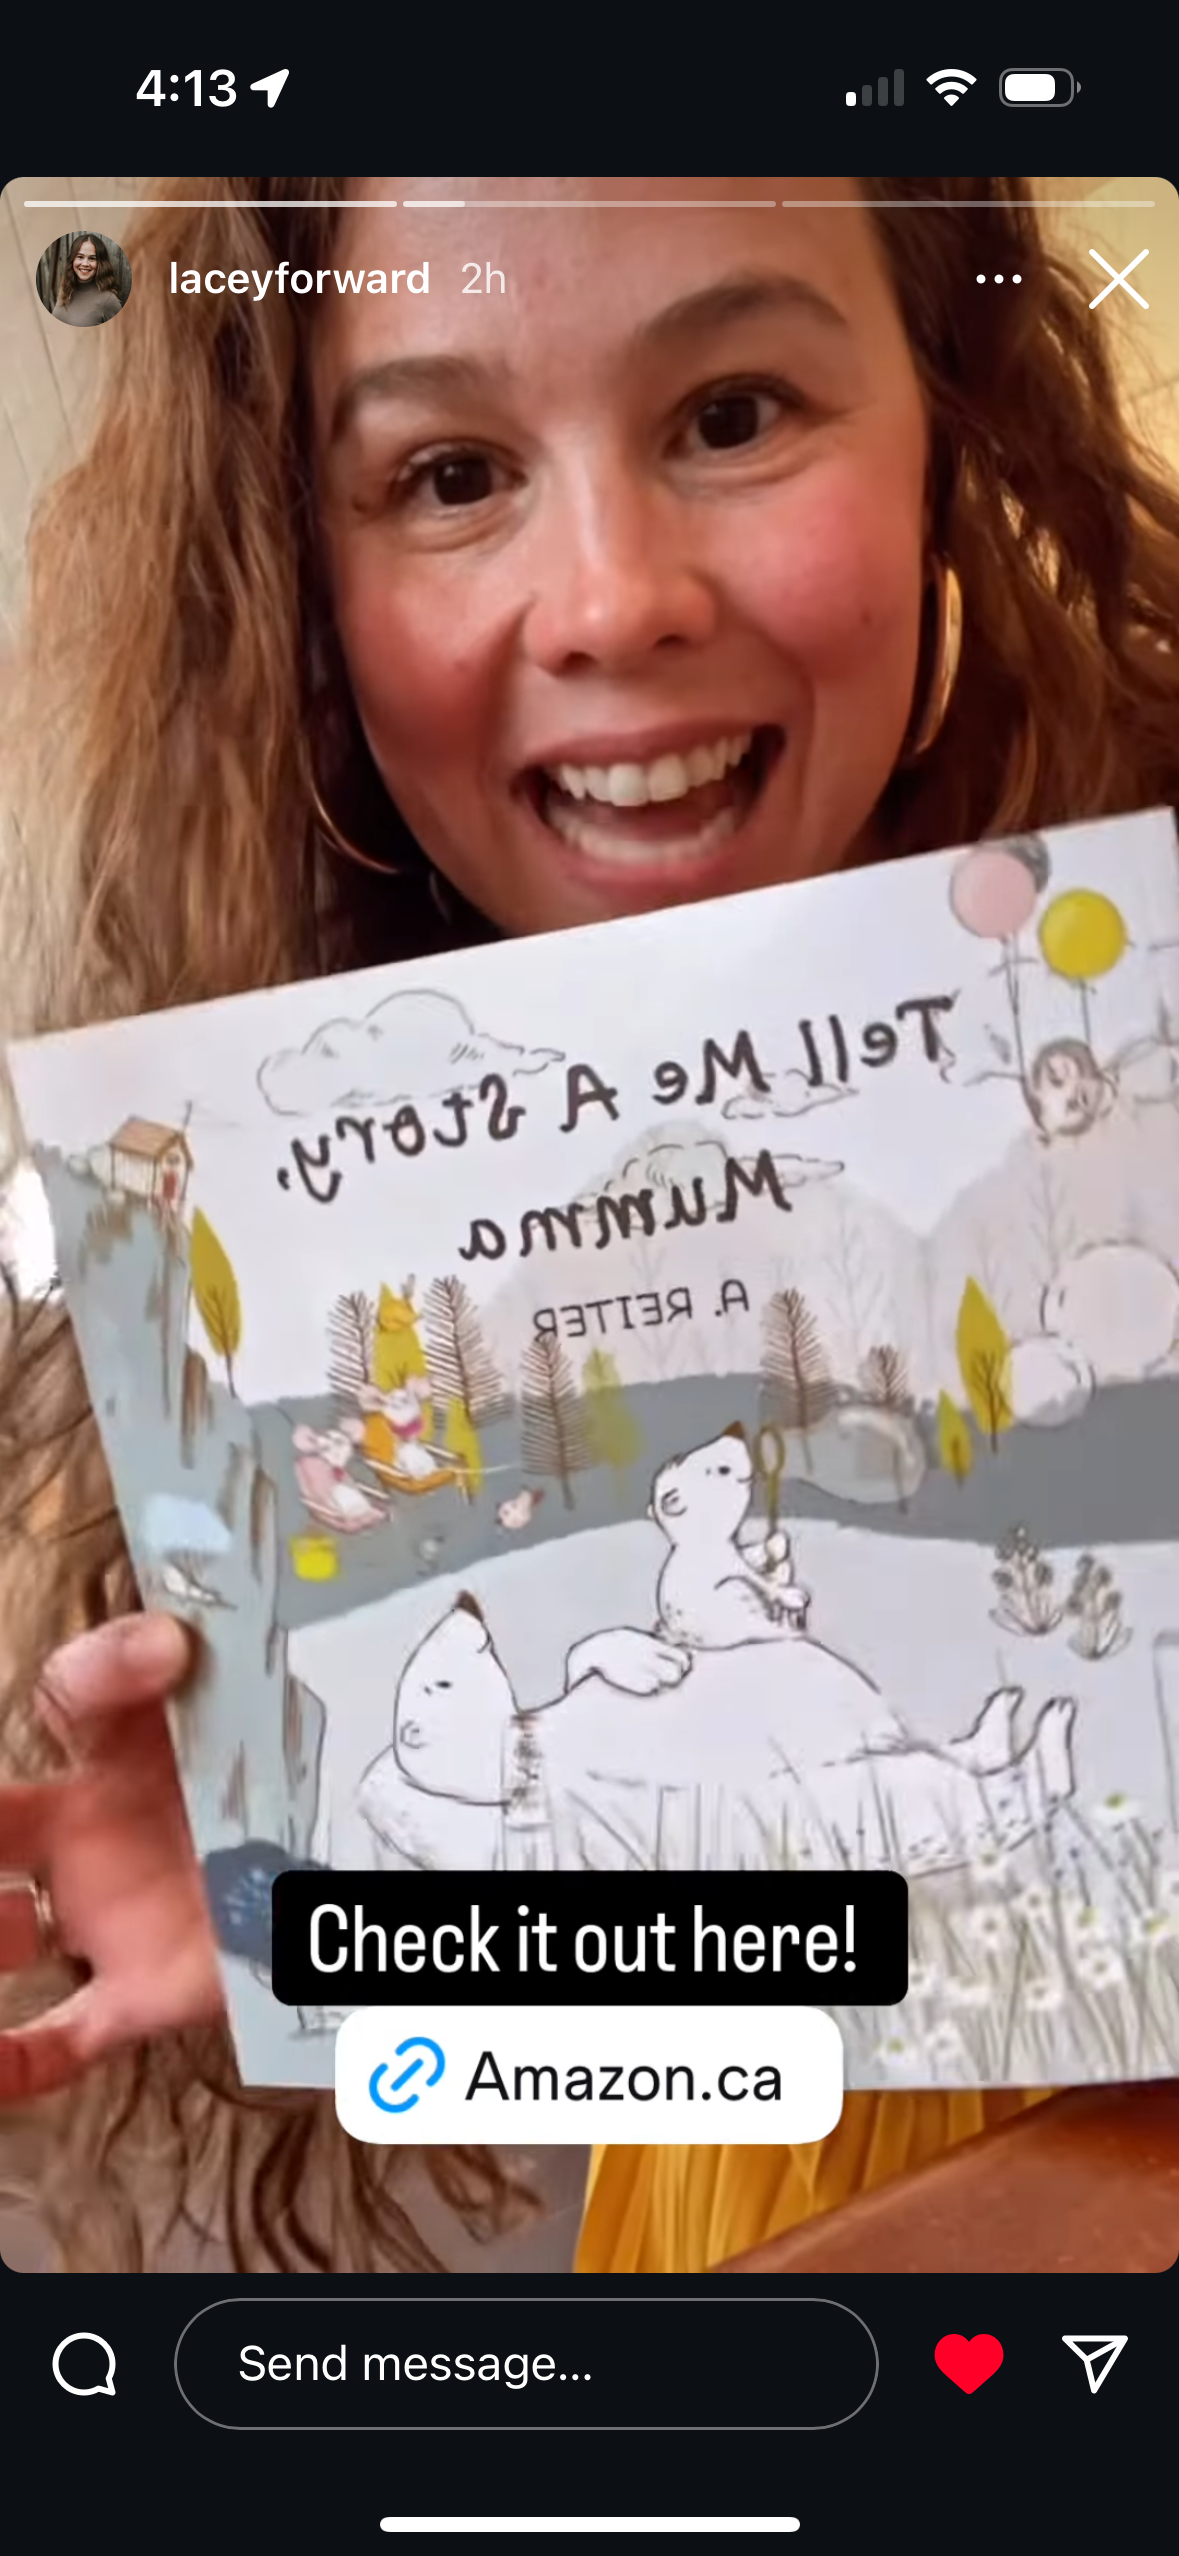
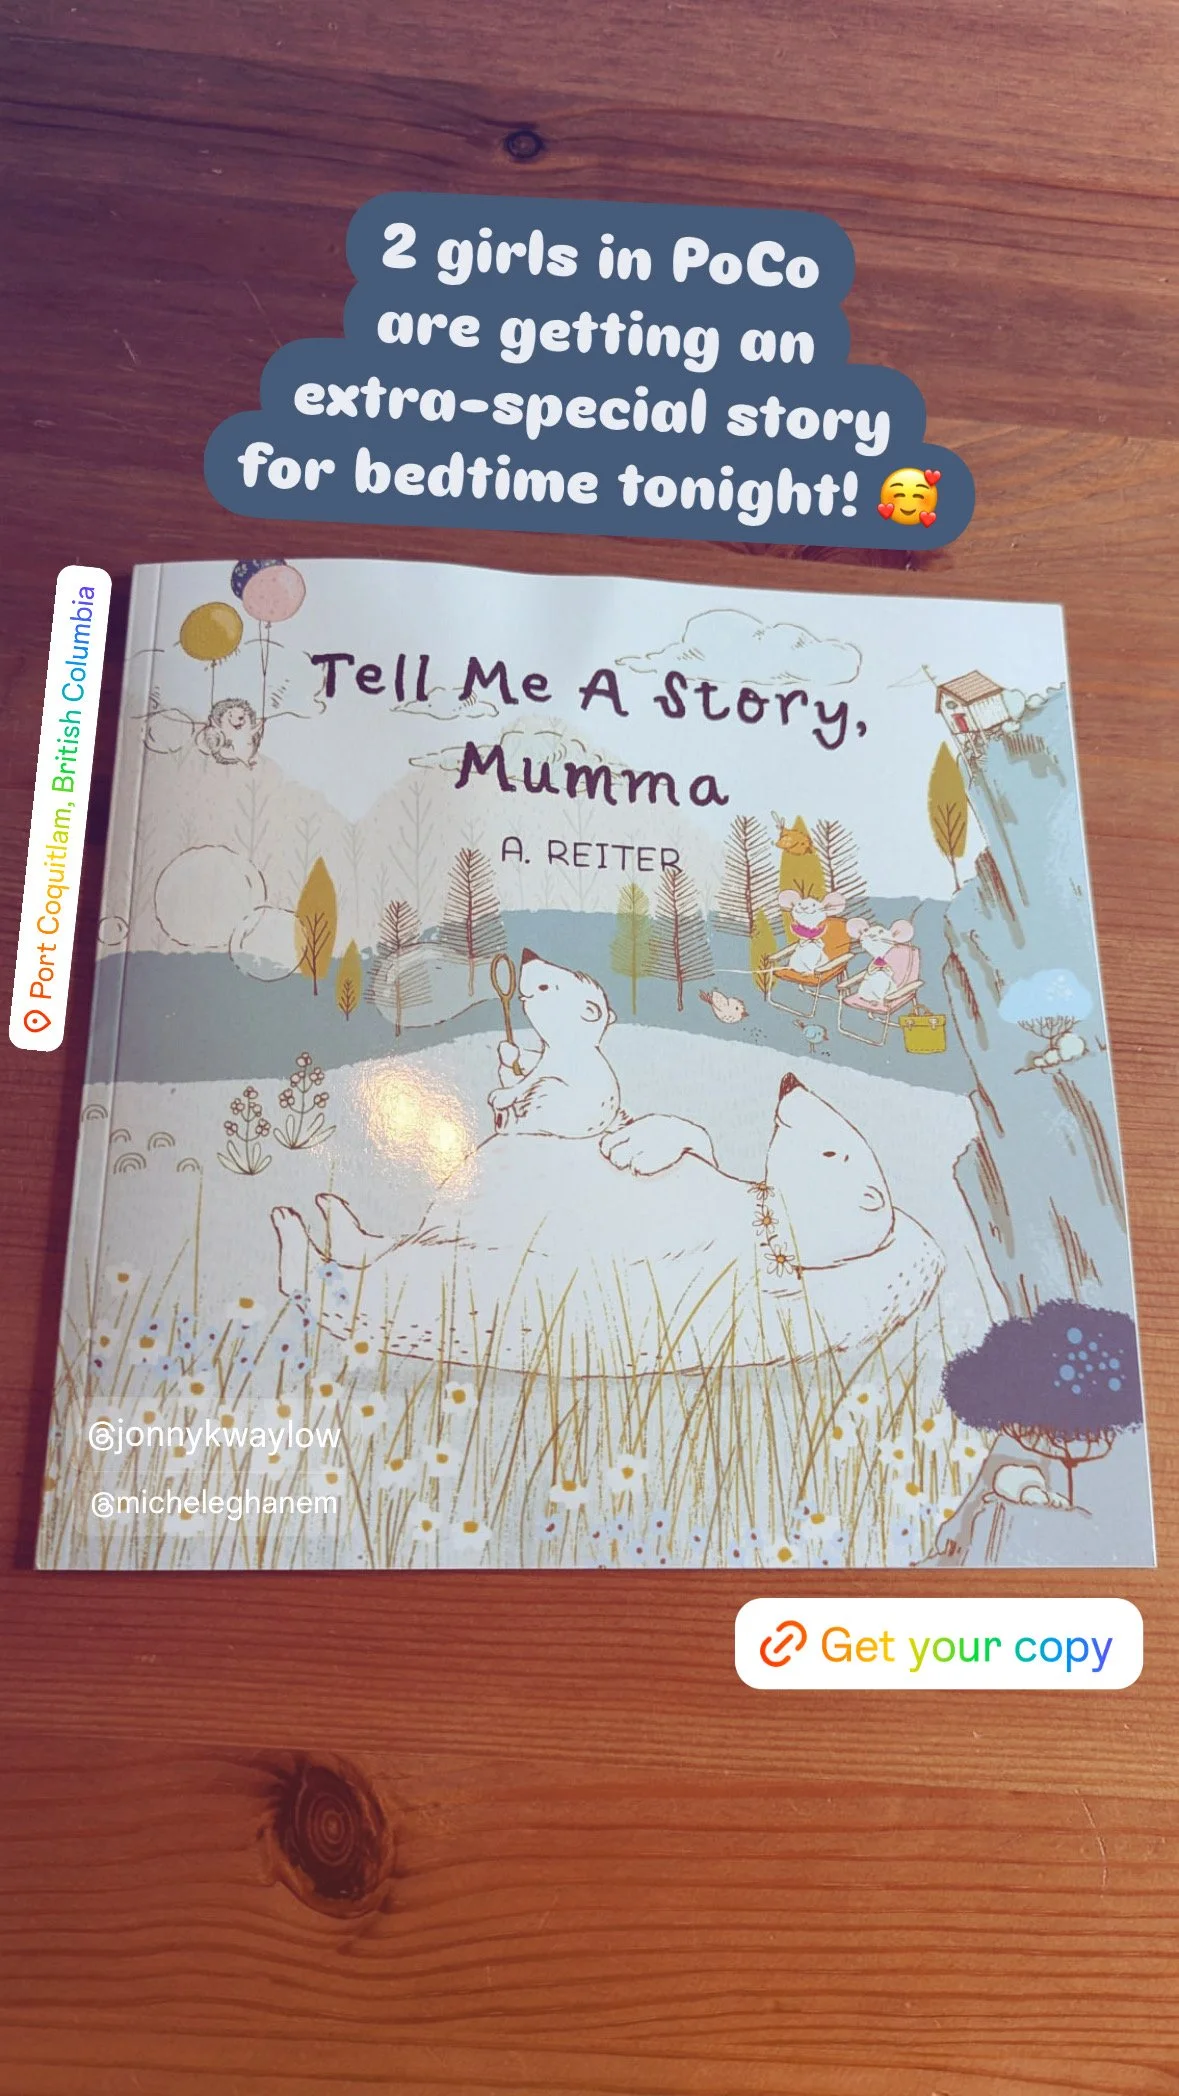
I expected my friends to share my posts, but what I didn’t expect was the peripheral outpouring of support— aunties, and parents of friends, and friends of friends who I didn’t even know, and random people on Facebook who wanted to support a Canadian author. Awesome!
I don’t have some large platform, or a newsletter subscriber list I have strategically nurtured over the last several years. No, just 341 followers on Instagram (though I gained 22 more over the last week), a few more on Facebook, and a lot of people who knew vaguely that I was a writer.
It makes a difference when you put yourself out there; allow yourself to be vulnerable, and share what’s important to you. That this book was written as a love letter to my 7yo daughter, an homage to storytellers and inquisitive youngsters, resonated.
I tried to tick some of the ‘should do’ marketing boxes; give a sneak peek, show some behind-the-scenes, do a cover reveal a week before the launch date to amp up interest—overall, I’d say those tactics were successful. But where do they land? On your community, platform, whatever you have and whatever you call it. Ultimately, you stick your neck out, and by the grace of God and to the mercy of your ego, people do show up.

8. self-promotion gets old fast.
Book marketing is exhausting! I felt like I was repeating myself, trying to rehash my story “hook”, getting gimmicky with the reels and gifs and text animation with just the right audio clip. Some of these efforts did very well; a few reels got 2,000-3,000 views—10x better than my gardening videos, ha! But it’s a hungry beast, that algorithm.
Yes, I could have come up with a better content schedule, and probably could have better capitalized my momentum by posting daily instead of every two days, but honestly… I didn’t want to. I already felt like a dancing monkey trying to keep people’s attention leading up to the launch. Once the book launched, I realized I hadn’t actually planned on any specific post-launch promotion strategies. In future, I’ll do myself a favour and draft up a more detailed marketing plan. Maybe even prep all the posts so that when it’s go time, all I have to do is hit “share”.
Had I more lead time, I could have ordered author copies, sent out ARCs (advance reader copies) to request reviews, and had the book in hand to design promo content. Ah, well.
Some of the promo was obvious; post the Amazon link, update people on your sales ranking, repost excited shares, unboxing, happy customers, reviews, etc. Even though I would call my launch a success, far better than I had hoped or expected, in the end my attention was divided amongst other things, too. Being present with my family. The garden. Tax returns. Normal conversations with friends besides, “Hey, can you share this post?” It was all mildly fun, slightly tiresome, and surprisingly time-consuming.

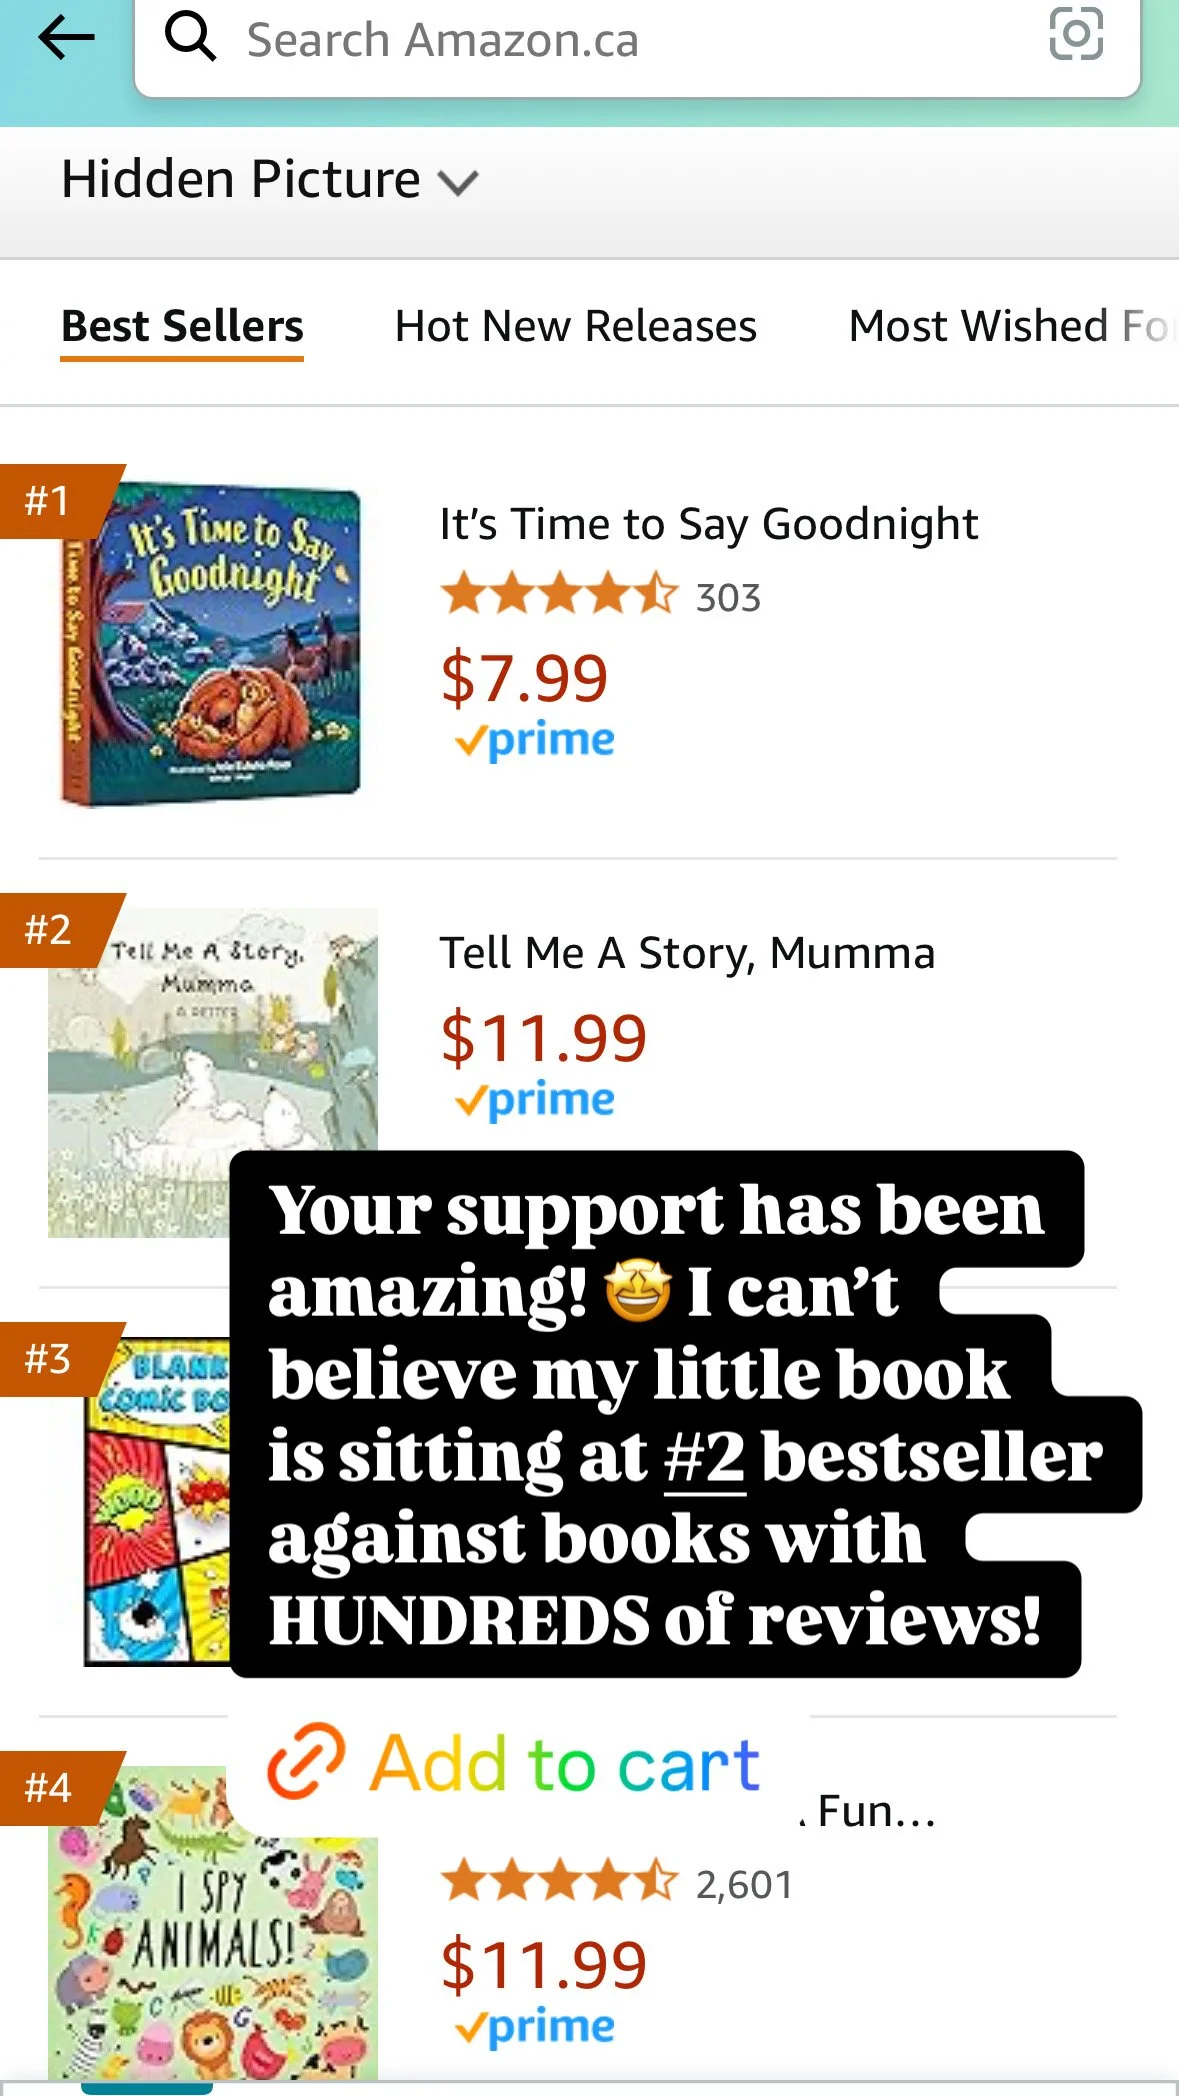
9. ENJOY THE RIDE
Launch day is weird, and wild. All this activity is happening online, on this bright little rectangle in your hand. #3 Bestseller, refresh. #2 Bestseller—OMG! Refresh, refresh. #1 Hot New Release in all 3 sales categories! And 48, 72 hours later, you’re down the chute and lost in the churn.
Your launch star will burn hot, bright, and fast. Soak it in while it lasts, preferably with a few friends in the same room to make it feel real. Screenshot often!
Take breaks, too. There’s more to life than Amazon rankings. It’s a digital game of pixels and smoke and mirrors.

10. Impact over Result
How do you plan on measuring your success?
If you go into publishing thinking, “I want to sell <x> # of books, or make this much in royalties”, what happens if you don’t?
What happens if you do?
Will that satisfy?
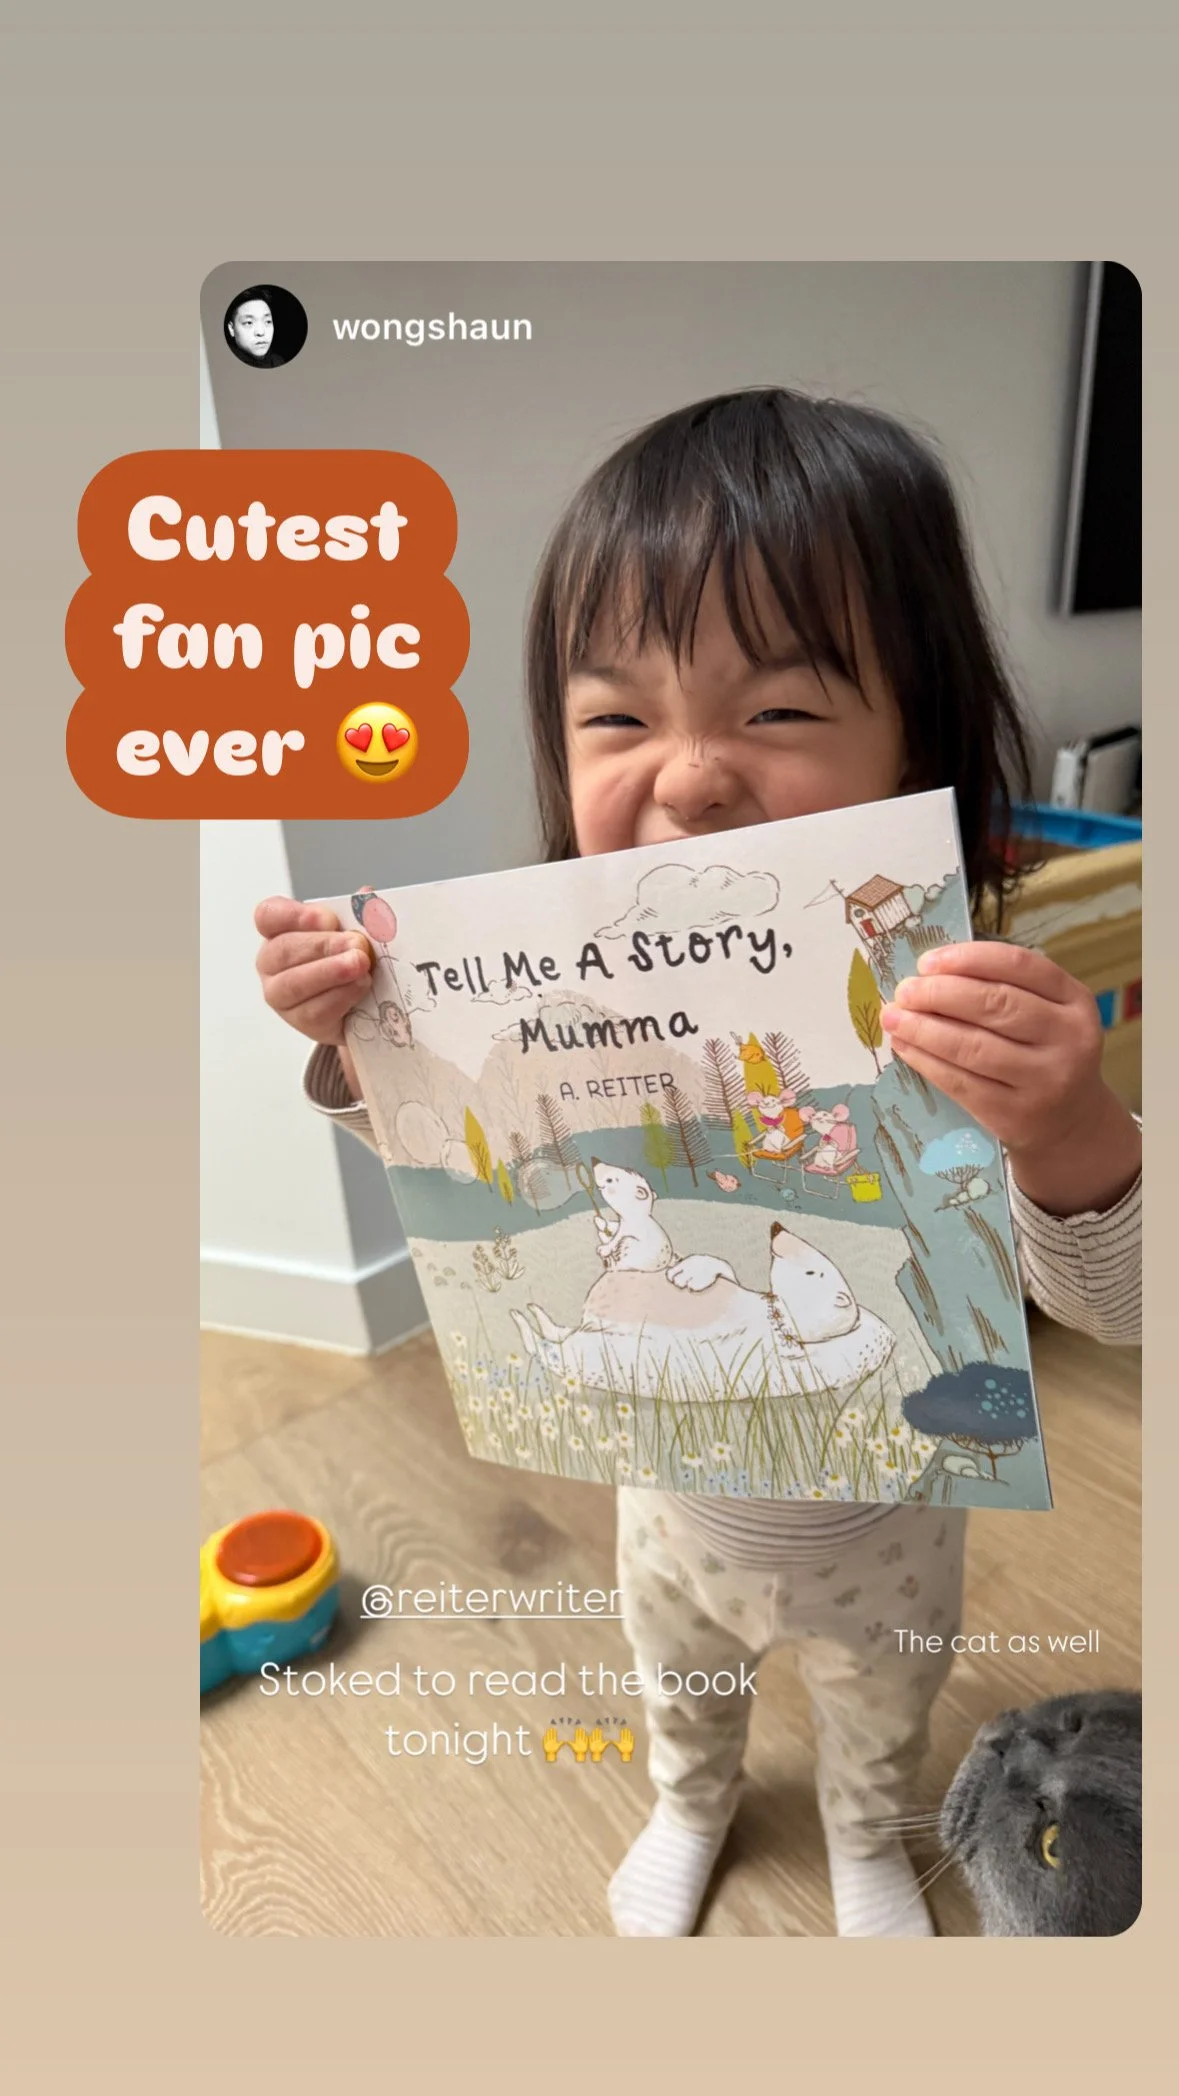
Ultimately, the number of books I sold exceeded my modest expectations, but what meant so much more to me were all the little anecdotes I was hearing of friends’ children poring over the details, asking questions, picking their favourite character, getting excited about finding the hidden bee on every page. To think that this story came out of my head, off of my computer, and migrated around the world into dozens and dozens of bookshelves to be explored again and again is an extraordinary thing.
A little girl I’ve never met; the daughter of an old university friend, is now very interested in reading more hidden picture books. What a wonderful feeling.

You can do this. I DID. The difference between amateur and author is in the doing. We ought to put out our work more often. Imposter syndrome and pride aside, we just don’t share our creative work often enough for fear of rejection. We learn so much from trial and error, but also from “performance”, so to speak. Nothing motivated my piano practice more than an upcoming recital, when it was all on the line, a single two-minute shot at getting it right in front of an audience.
Publishing your book on Amazon and telling everyone you know will do the same: it’ll push you to become better than you might have been all alone. Something I am working on modelling for my daughter is how it’s okay to feel nervous about doing something new, and that you don’t have to do anything perfectly the first time—in fact, even adults make mistakes. I’ve been showing her the errors on that first proof, and explaining my publishing date snafu. She also got to see, after her birthday and receipt of the long-awaited book, the outpouring of support and excitement from our friends.
I hope this list was a helpful guide, of sorts. If you have an idea for a book, execute it. Reach out, if I can be of any help. Let’s challenge ourselves, share our creativity, and celebrate those imperfect outcomes!